This page is part of the Csiro Stars (v0.3.0: Releases Draft) based on FHIR (HL7® FHIR® Standard) v5.0.0. No current official version has been published yet. For a full list of available versions, see the Directory of published versions
STARS Client
STARS Client Overview
The STARS Client provides a wrapper to communicate with the FHIR server using a simpler file system. This allows a basic integration for non-FHIR based systems to be able to send and receive messages using a simple interface based simple data structure models such as CSV.
The client is built to match the release of the FHIR server and profiles.
File Formats
- CSV - flat column and row structure. Templates created in Root Data Folder path (template_servicerequest.csv, template_diagnosticreport.csv).
- basic model - intermediary format during conversion.
- FHIR+XML - xml file, complete fhir message, ready to send.
- FHIR+JSON - json file, complete fhir message, ready to send.
Setup Pre-requisites
Requires .NET Desktop Runtime 6.0. The installer will prompt you or you can navigate here and download the .NET Desktop Runtime 6.0 for your OS version.
Download
Access the latest copy of the Stars.Client.Installer.msi over on the Downloads page.
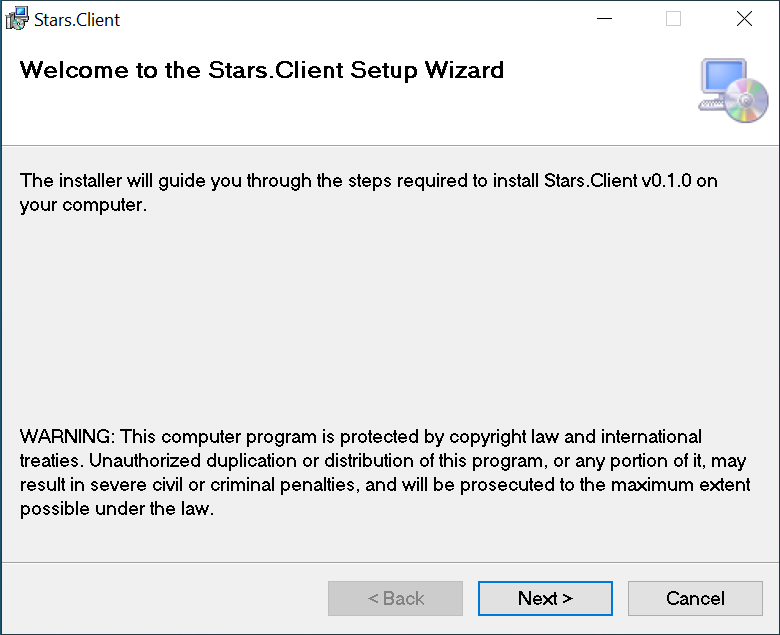
Installation
Follow these steps to install the client.
-
Welcome screen.
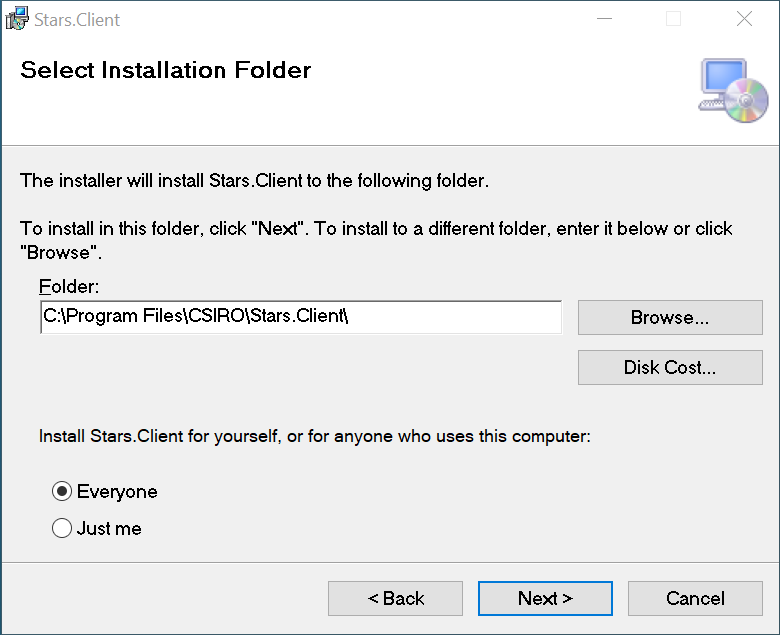
-
Select the installation path
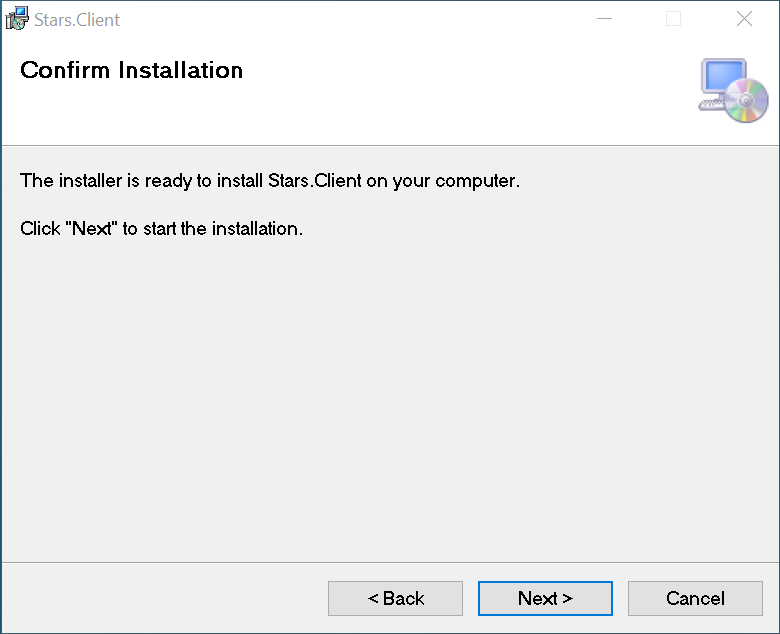
-
Confirm installation settings
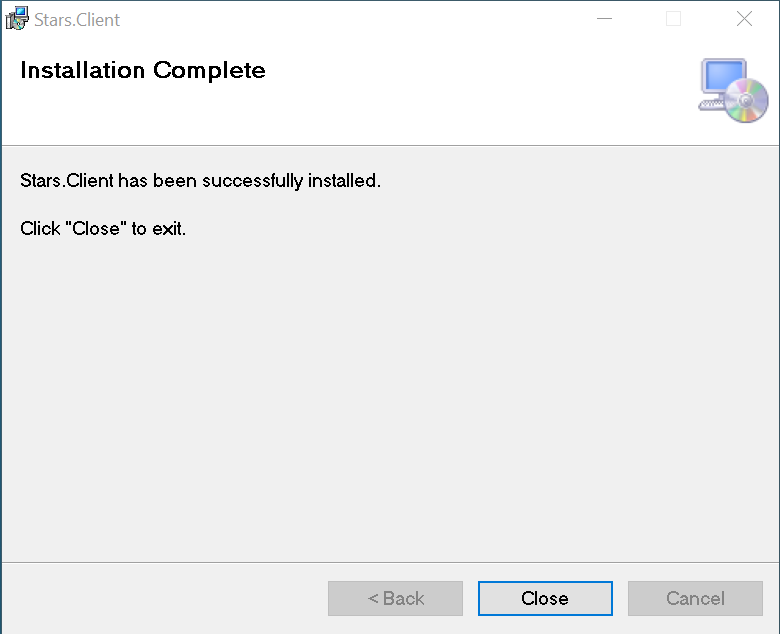
-
Installation has completed
Initial Setup
The application will require some setup to be completed before it can communicate to the Stars server.
NB: If you require a proxy server, opening the Stars.Client.UI will automatically create the `settings.json` file in `C:\ProgramData\Stars.Client`, if missing, in preparation for manually editing the proxySettings as required.

    "proxySettings": {
    "proxyEnabled": true,
    "address": http://proxy.com:8080,
    "username": "user",
    "password": "pass"
    }

Reopen the Stars.Client.UI and continue configuration.
-
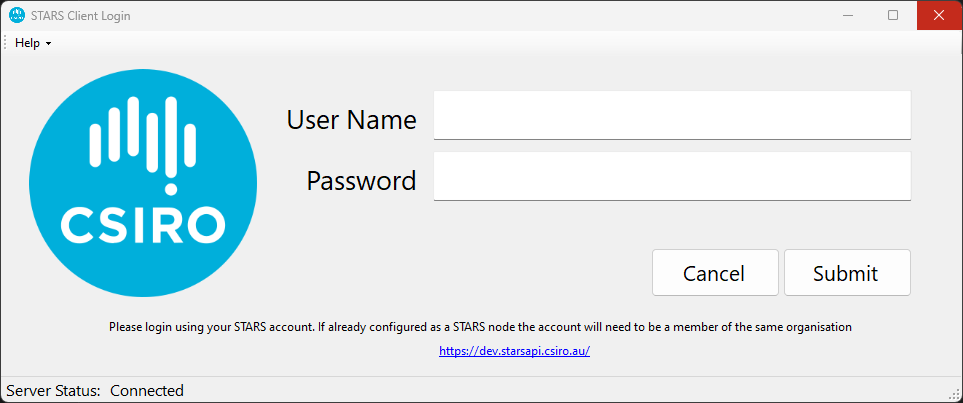
Authenticate using a STARS account (as delegated from starsapi.csiro.au, not acdp.csiro.au as these are different services). If the node has already been configured then you must be a member of the same organisation as the node to login and make changes.
-
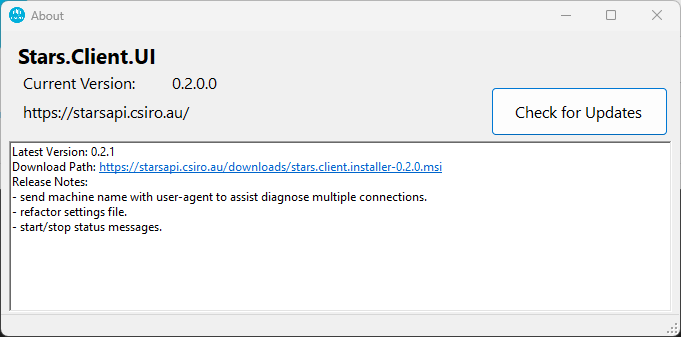
Ensure you are running the latest verison of the client by checking Help -> About and checking for updates.
-
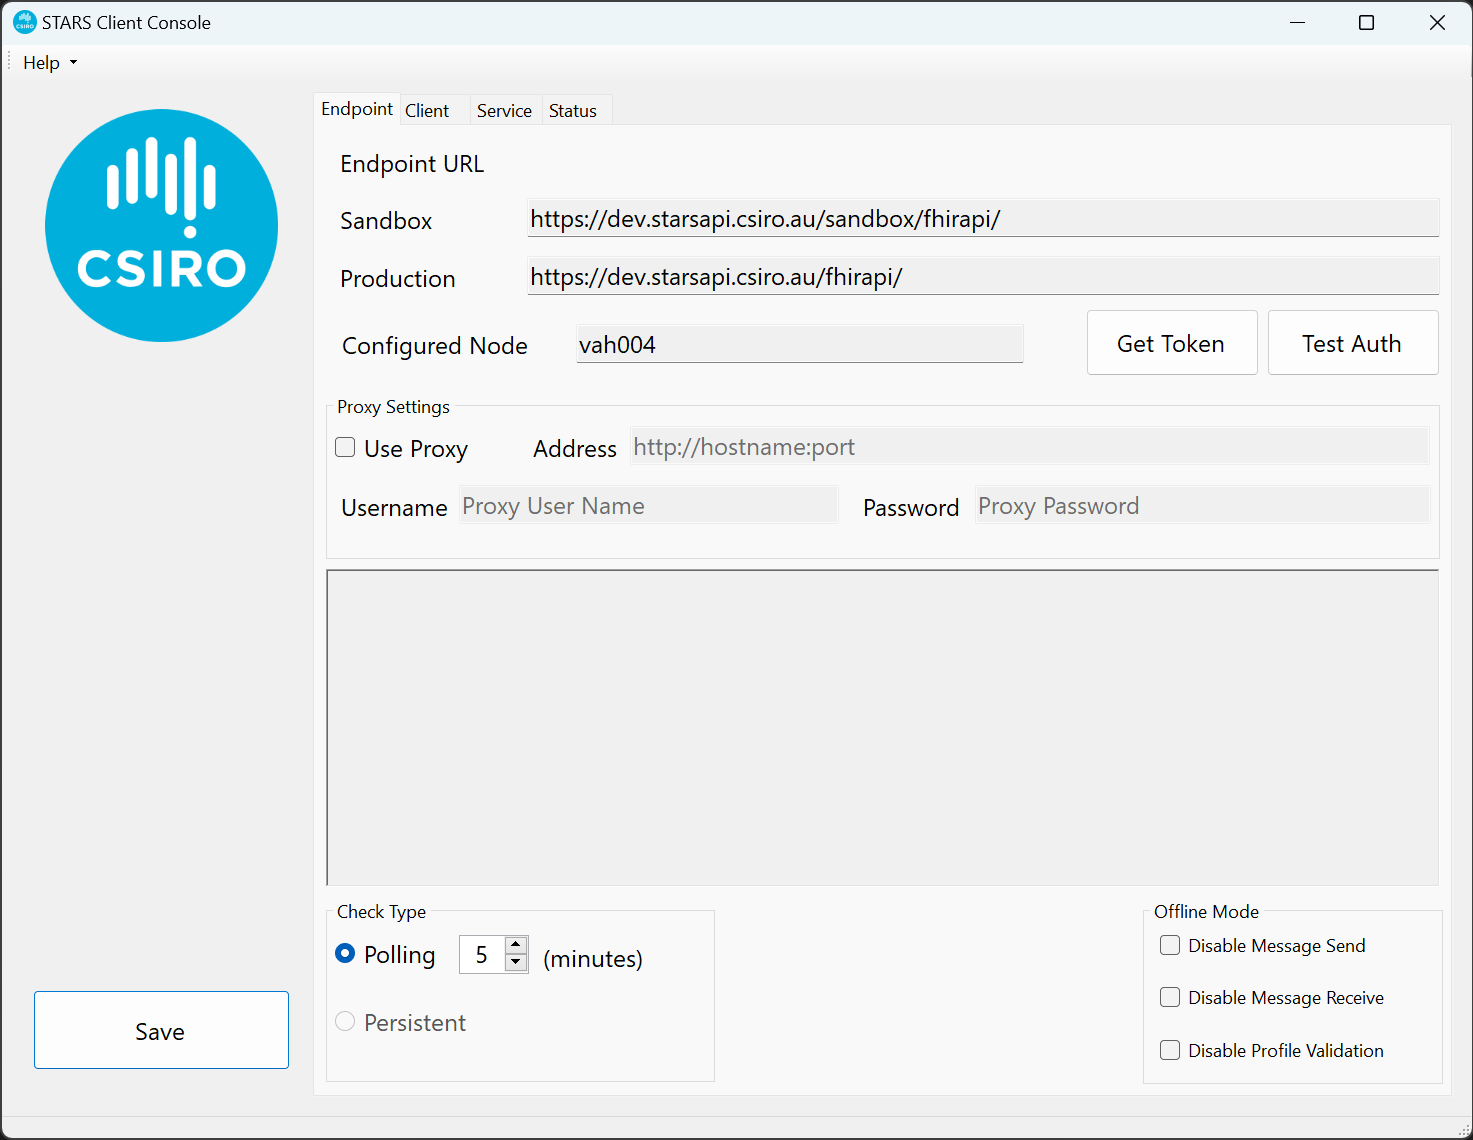
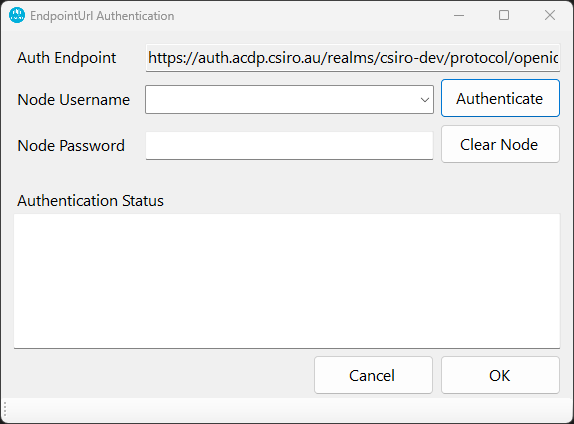
On the Endpoint tab click Get Token.
-
Type the node Username and Password followed by Authenticate to retrieve a node authentication token. This will configure the node to the organisation.
- Click Close. Remember to save your settings. You may have to reload the application for the node to reload correctly on first configure.
- Choose your Check Type (Polling and interval in minutes).
- Click Save to commit the settigs to file.
-
Your node endpoint connection is now configured.
-
Click Client tab.
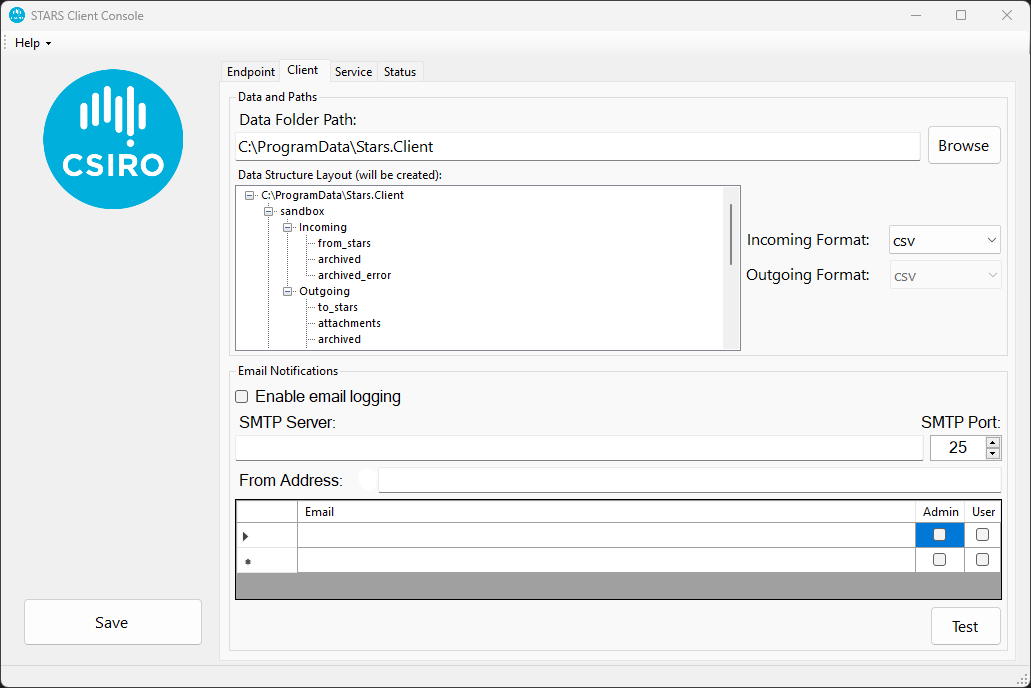
- Browse to select your root data path. Sub-folders will be created automatically as per the preview when the Service is restarted.
-
Select the Incoming and Outgoing file types (see File Formats above):
- files added to the incoming folder have been received from the STARS server.
- files added to the outgoing folder will be sent to the STARS server.
- Configure email notifications as desired and test.
- Click Save.
-
Your client is now fully configured.
-
Click Service tab.

- Click Install button to install the service to the machine.
- Make any modifications to the service as required, such as 'run as another account' using the services snapin (botton right shortcut to open services.msc).
-
Click Start for the Stars.Client.sandbox service when ready. This will allow you to test your settings are working as expected. Once working you can start the Stars.Client.production service. Both services can run side by side but you may wish to run the sandbox service on your testing infrastructure.
-
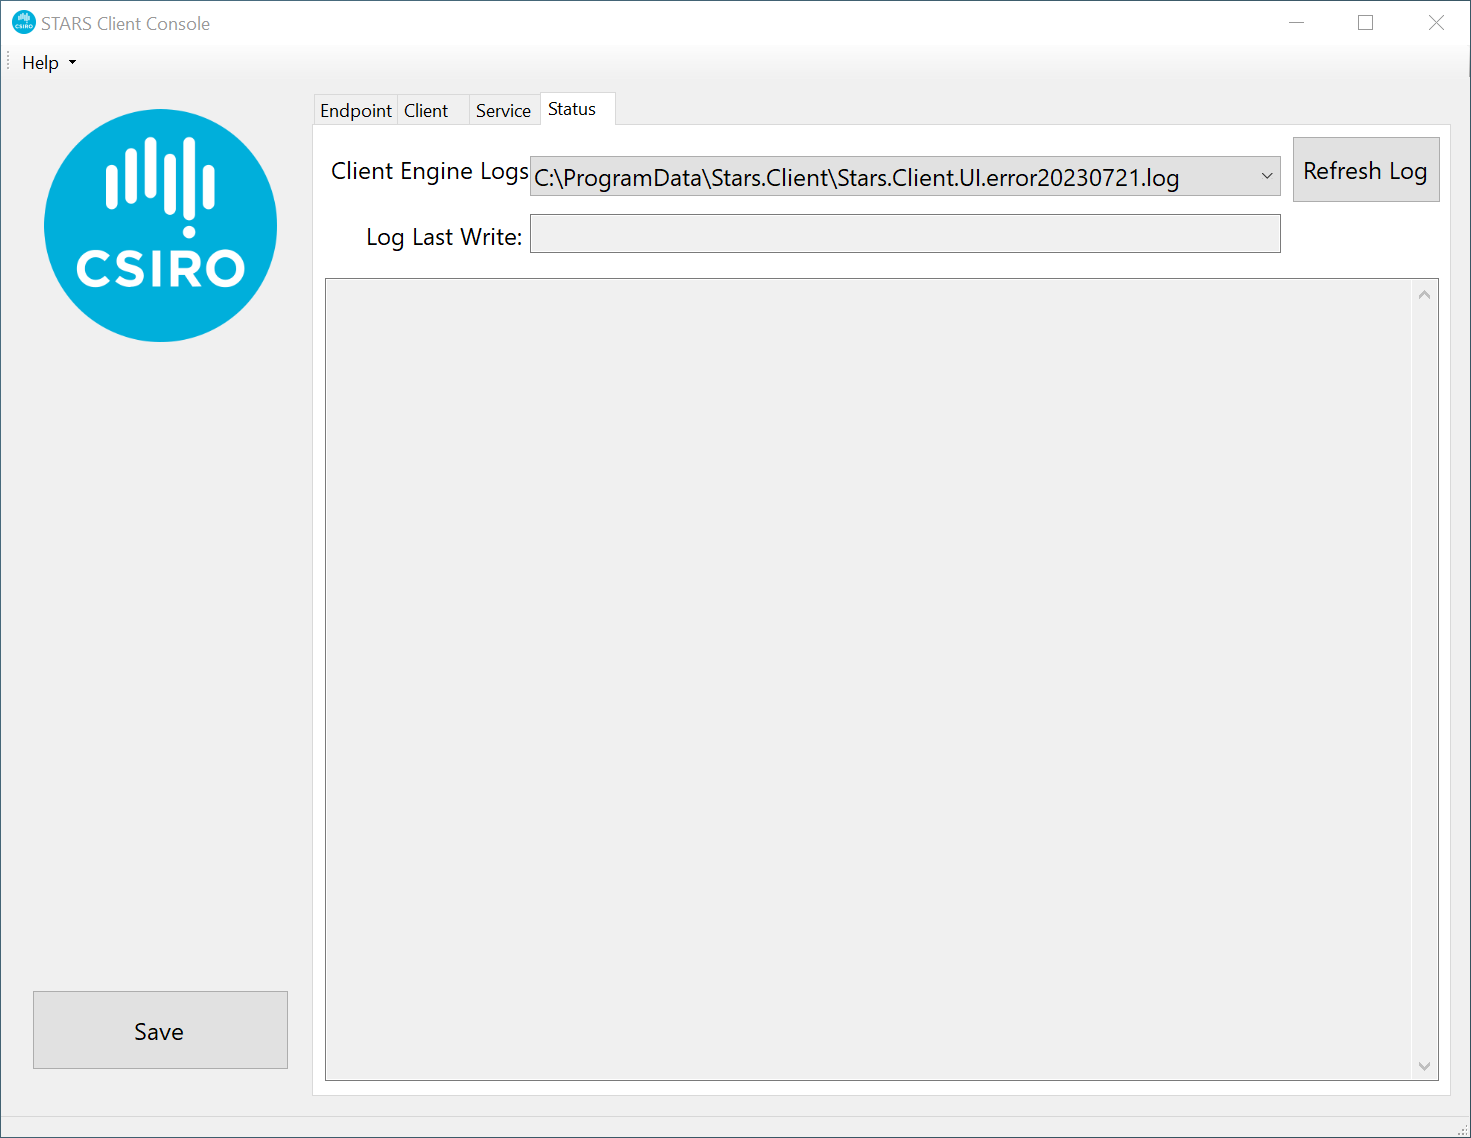
To check the status logs click the Status tab
Folders and Paths
Both services can run side-by-side as separate instances, separated by the sandbox\production folder tree.
- Default installation location is C:\Program Files\CSIRO\Stars.Client.
- Settings are stored in C:\ProgramData\Stars.Client\settings.json.
-
Default Root Data Path is located in C:\ProgramData\Stars.Client and is expected to be changed as required.
Default path and structure created when the service starts.
When the Stars.Client is executed it will create the latest copy of the CSV templates in the Root Data Path based off the internal models.
Sending files using the client
Process of sending a message through the client to the server.
- Export CSV file from LIMS.
- Save in outgoing folder.
- Client will convert CSV to FHIR message bundle.
- FHIR message will be sent to the FHIR server.
- Destination client endpoint will receive and process the message.
- Message.OK (should) be sent back to the server or sender.
Receiving files using the client
Process of receiving messages from the server through the client.
- Client will check for new messages either on a polling interval or via subscription (not yet implemented).
- New messages are downloaded to incoming\from_stars folder
- Message.OK (should) be sent back to server or sender.
- Client will convert the FHIR message to desired format (CSV, FHIR+JSON or FHIR+XML)
- File saved to the incoming folder.